Transform Your Kitchen with Expert Remodeling in Ogden, UT
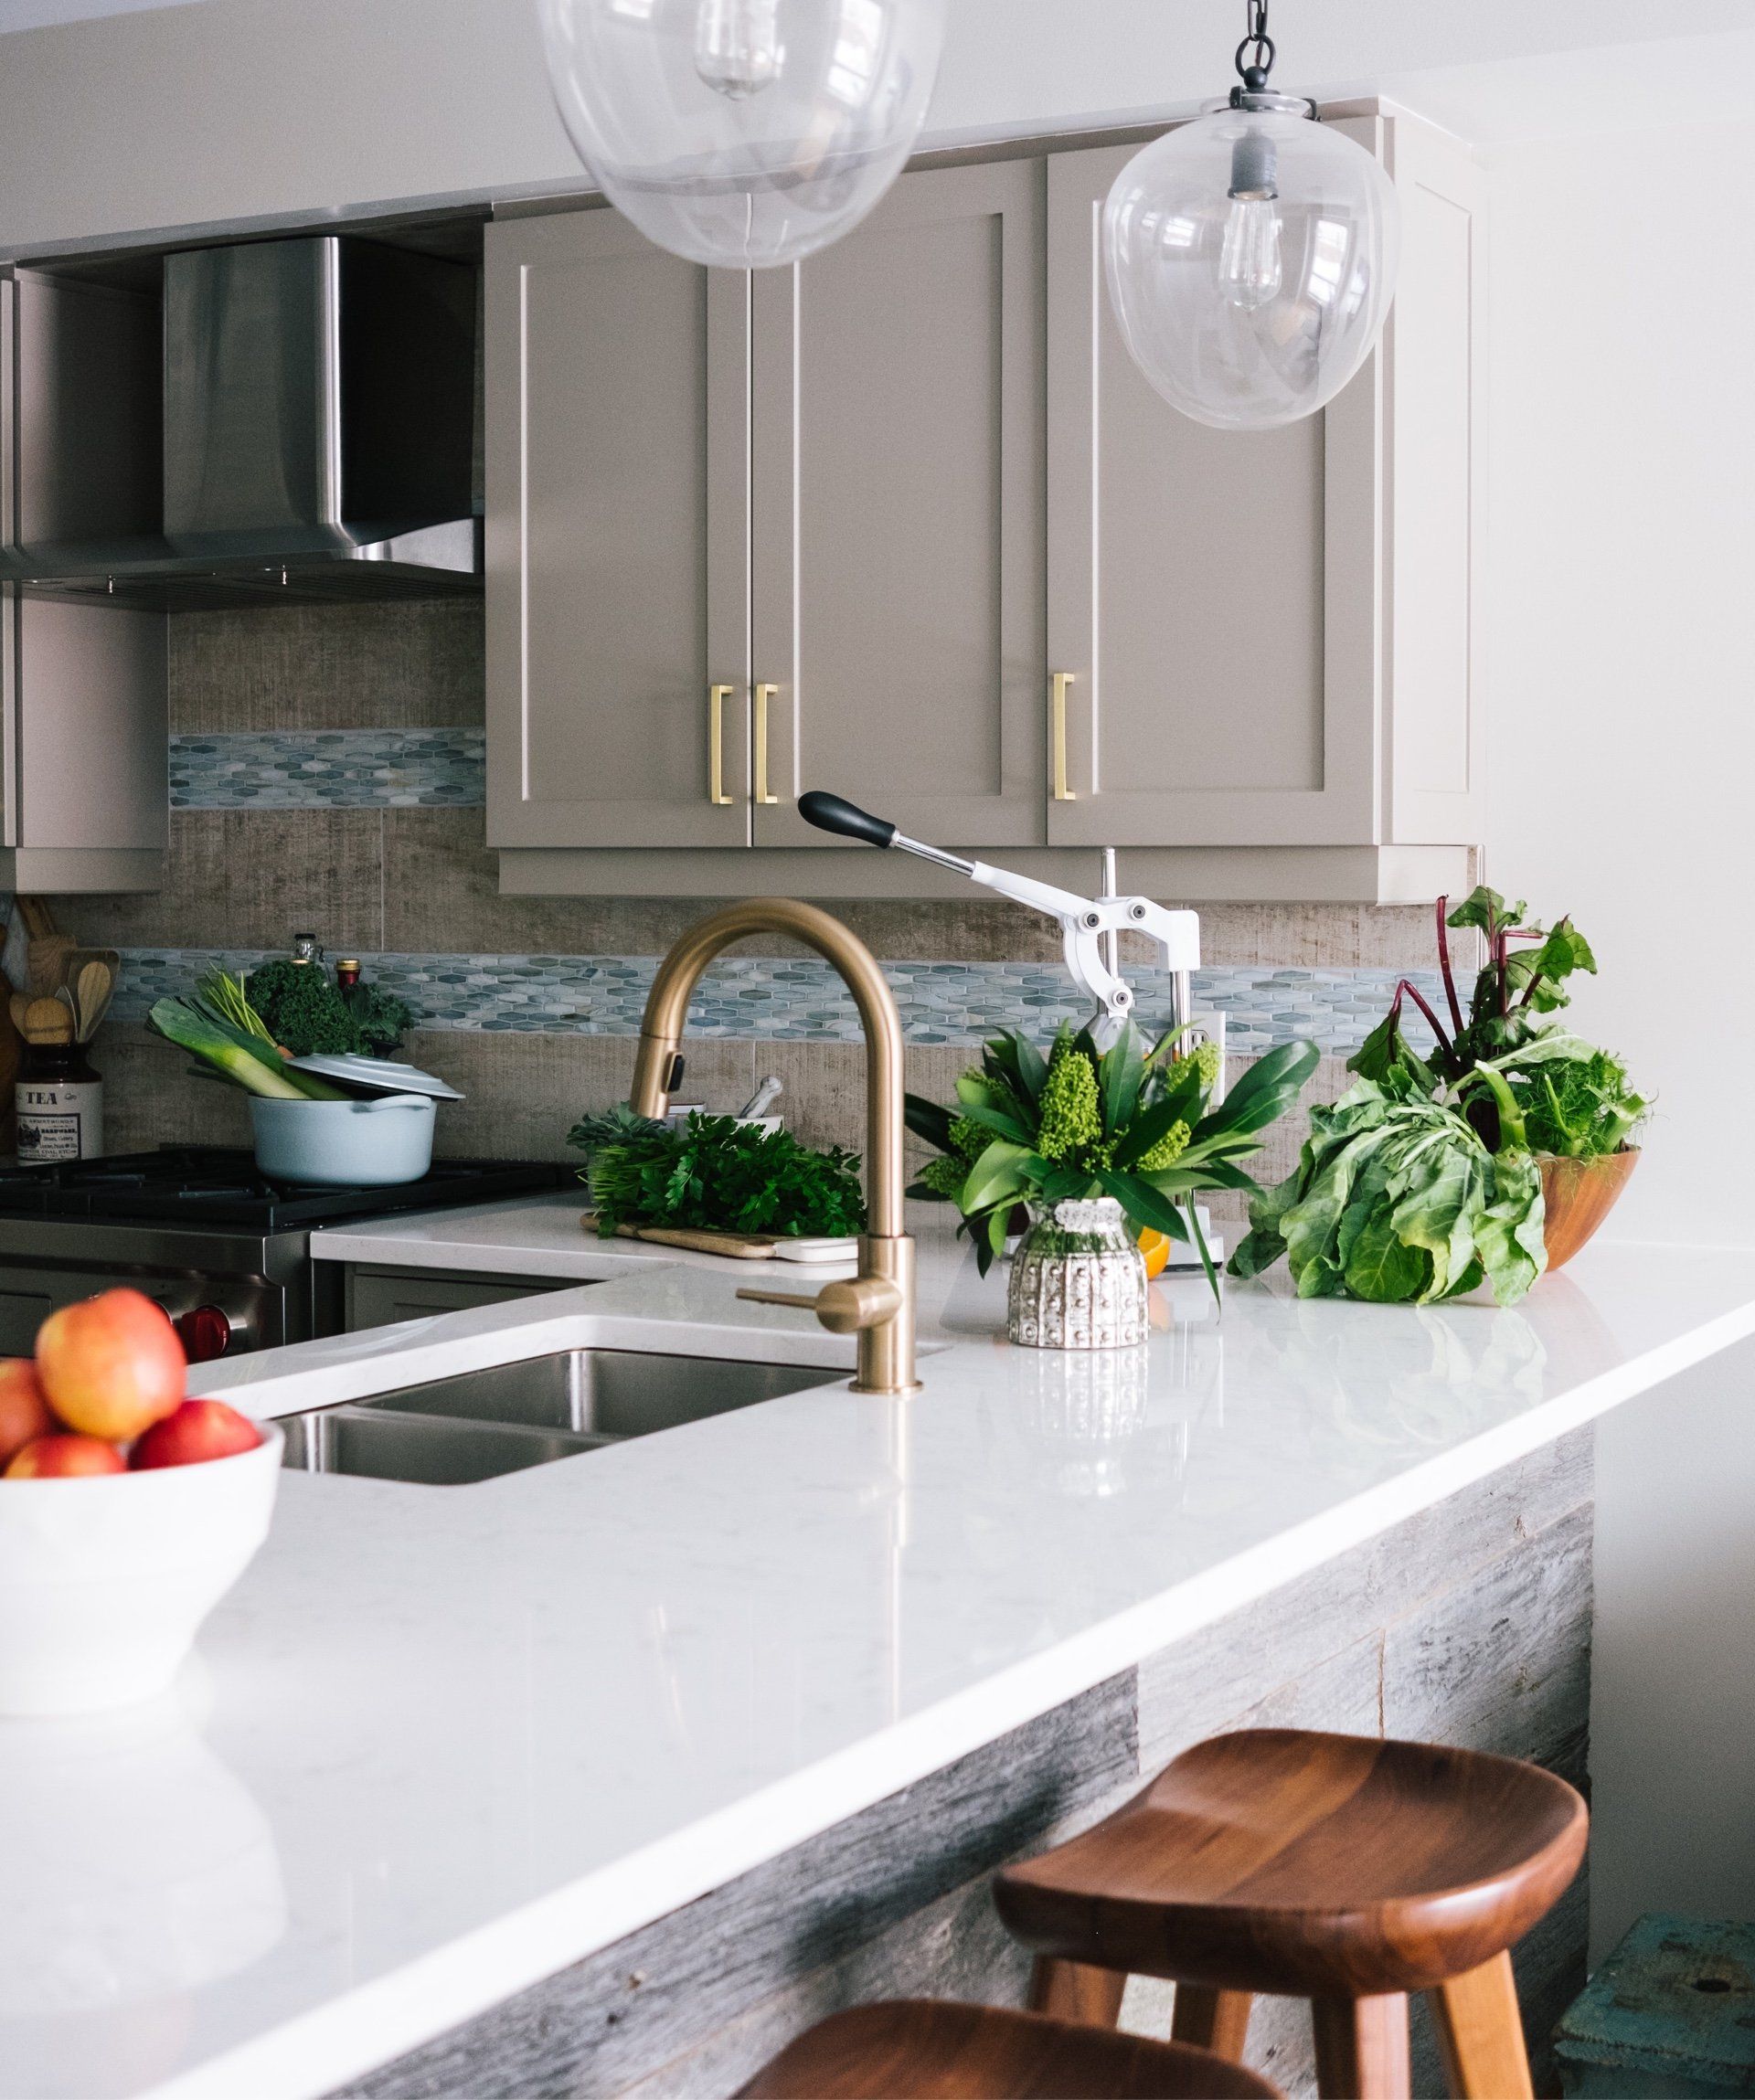
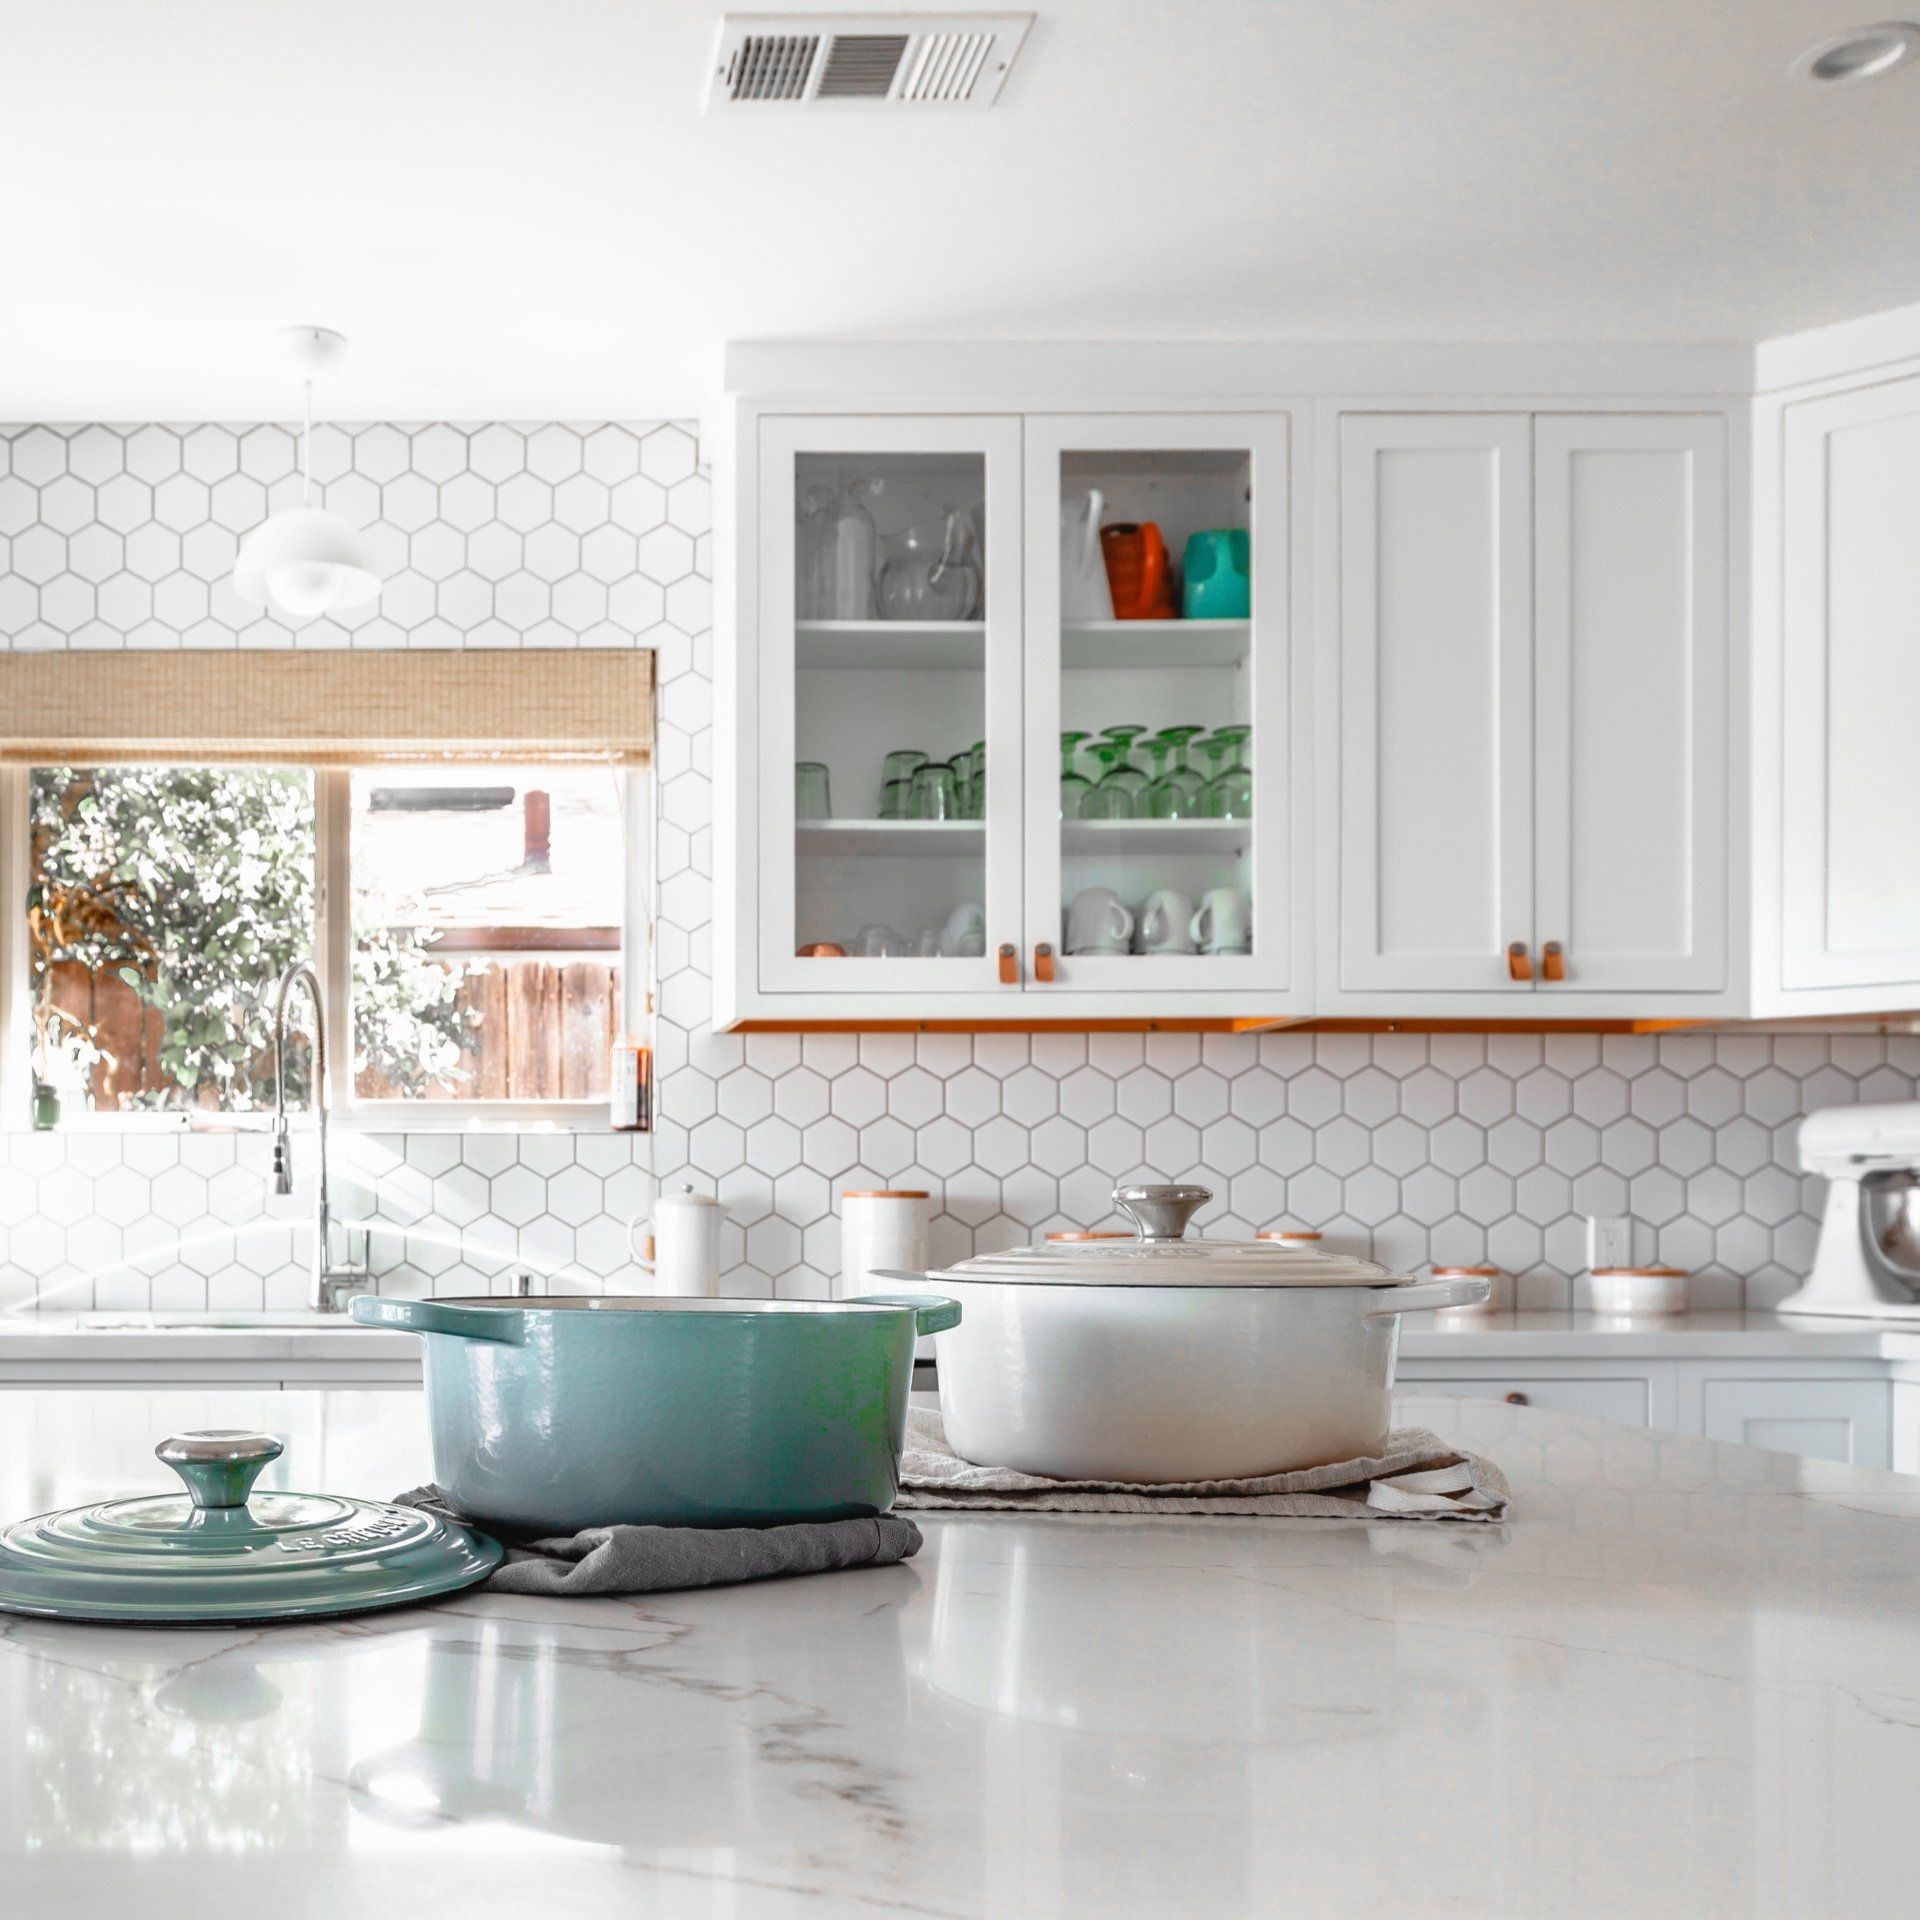
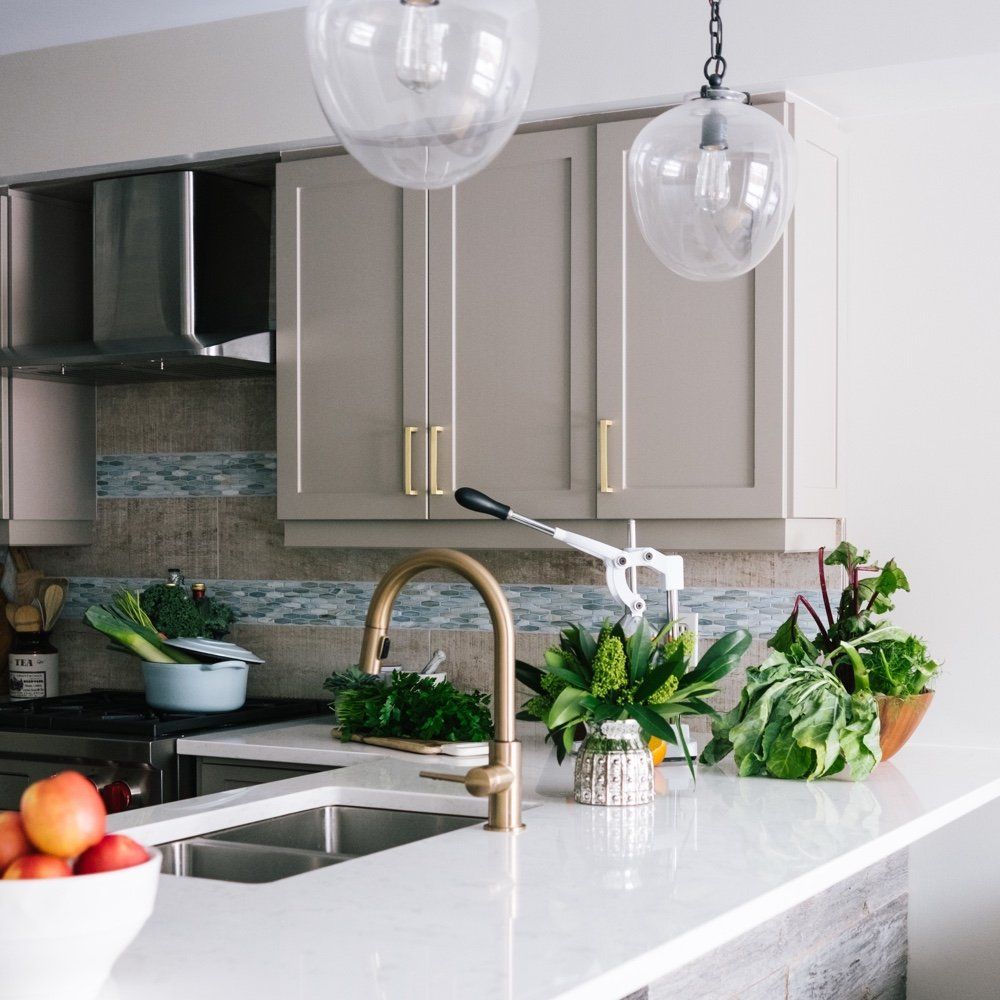
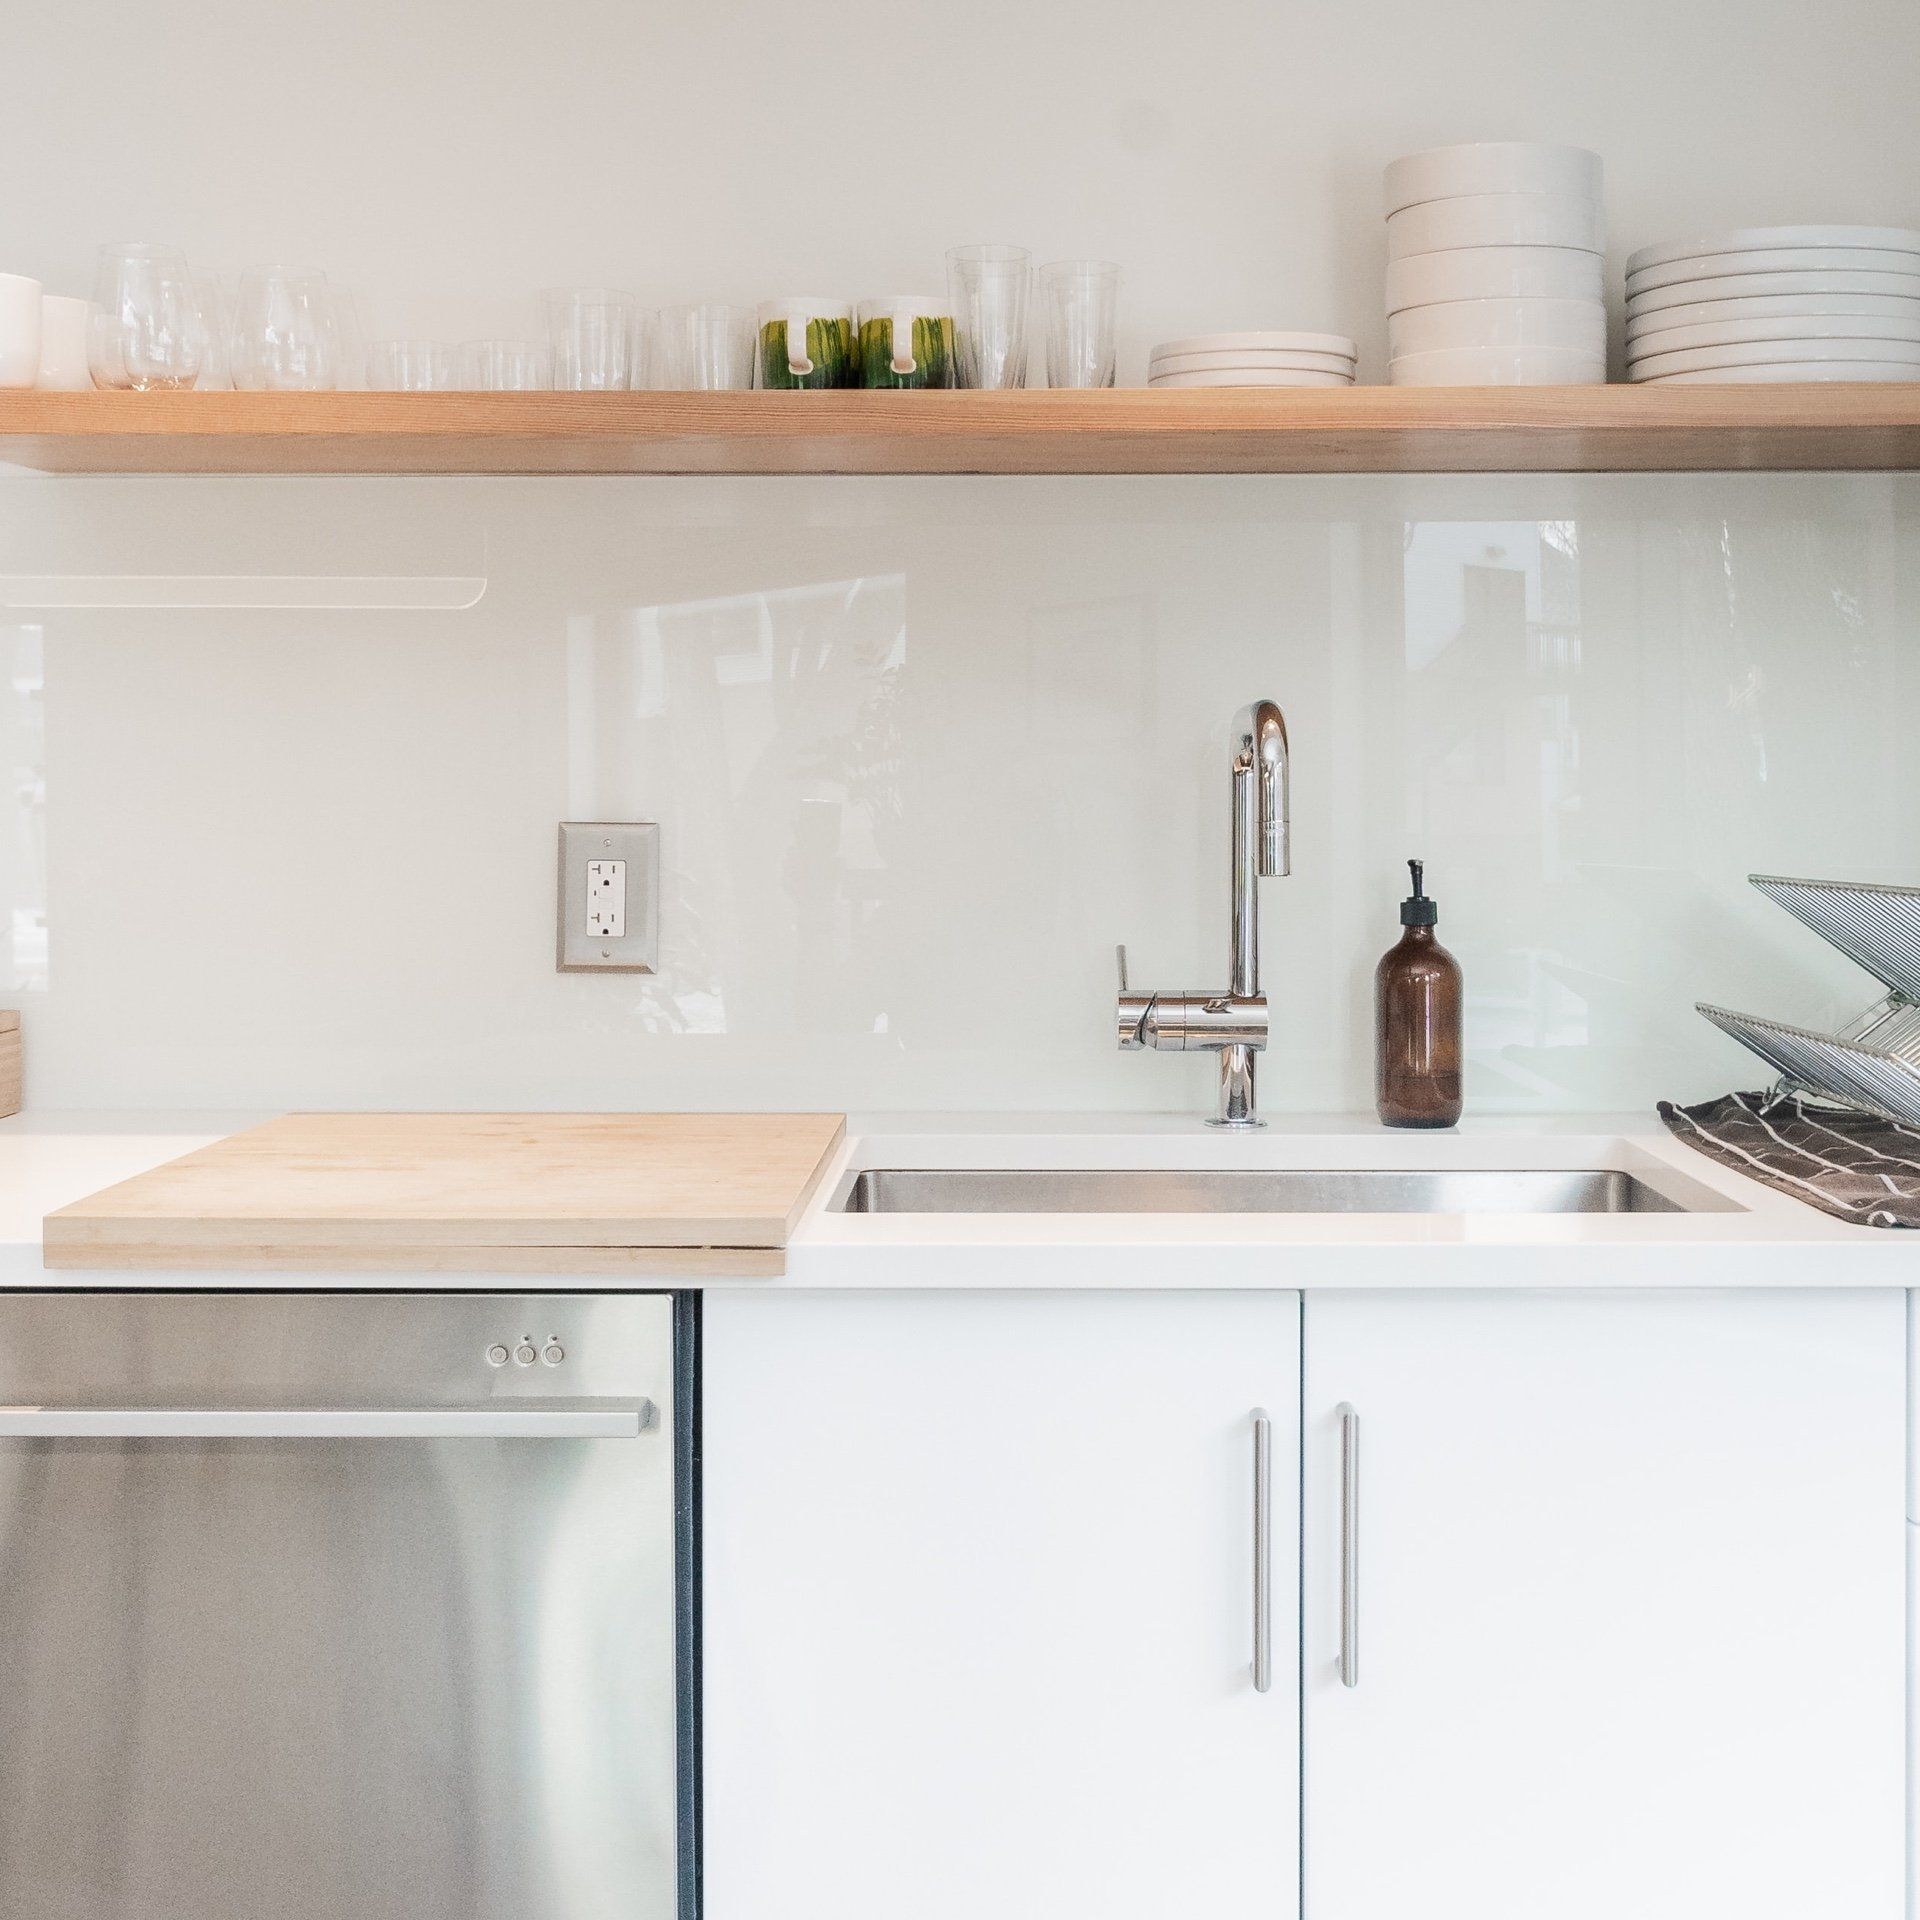
At J.J. Remodeling, we specialize in creating stunning custom kitchen renovations that significantly enhance both functionality and style within your home. Whether you’re envisioning a modern kitchen upgrade that features sleek lines and cutting-edge appliances, a warm and welcoming cozy farmhouse redesign that's perfect for family gatherings, or a sleek contemporary makeover that embodies elegance and sophistication, our expert team, with over 20 years of dedicated craftsmanship, is here to bring your vision to fruition with precision and artistry.
We take pride in handling every aspect of your renovation, from designing and crafting custom cabinetry and selecting the perfect countertops to the careful installation of beautiful backsplashes, stylish flooring, and ambient lighting solutions. In doing so, we ensure that your kitchen not only looks gorgeous but also serves as a practical space designed to meet your unique needs and lifestyle. By using only high-quality materials and working closely within your specified budget, we create beautiful and functional spaces that you will love for years to come.
Why Choose Us?
✅ Local, Family-Owned Business in Ogden, UT
✅ Fair Pricing & Transparent Communication
✅ Timely Completion & Superior Craftsmanship
✅ Personalized Designs to Match Your Vision
Are you ready to transform your kitchen into the culinary oasis you've always dreamed of? At J.J. Remodeling, we take pride in being a local, family-owned business dedicated to serving the Ogden, UT area. Our team values fair pricing and open communication, ensuring you’re informed every step of the way. With our commitment to timely completion and superior craftsmanship, you can trust that your project will not only meet but exceed your expectations. We specialize in creating personalized designs that perfectly align with your unique vision. Contact J.J. Remodeling today for a complimentary consultation, and let us help you bring your dream kitchen to life with our expertise, dedication, and passion for quality workmanship!
Step 1: Planning & Budgeting
- Establish Objectives: Start by clarifying your specific motivations for undertaking a remodeling project. Are you looking to improve functionality for better day-to-day living, enhance the overall aesthetics of your space to create a more welcoming atmosphere, increase the resale value of your property for a future sale, or pursue some other goals? Clearly defined objectives will help guide your decisions throughout the remodeling process.
- Establish a Budget: Next, it's essential to ascertain your spending limit for the project. Take the time to evaluate your financial situation and set a realistic budget that reflects your goals. It’s wise to include an additional cushion of 10-20% to cover any unforeseen expenses that may arise during the remodeling process, ensuring that you’re prepared for any surprises along the way.
- Explore & Gather Inspiration: Dive into the world of design inspiration by seeking out ideas on popular platforms like Pinterest and Houzz, or by browsing through a variety of remodeling magazines. Collect images, sketches, and articles that resonate with your vision for your space. This stage is all about gathering creative concepts that will help you visualize the changes you want to implement.
- Engage a Contractor: Finally, once you have a clear vision and a budget in place, the next step is to engage a reliable remodeling contractor, such as J.J. Remodeling. Take your time to research potential candidates, read reviews, and choose a contractor who aligns with your vision. Schedule discussions to share your ideas and get detailed estimates, as this will be crucial for moving forward with your remodeling plans.
Step 2: Design & Layout
- Collaborate with a Designer (if necessary): If you feel it would be beneficial, partnering with a skilled designer can make a significant difference in your project. An expert can not only optimize the use of space to its fullest potential but also enhance overall workflow, making your area more functional and comfortable. Additionally, they can provide invaluable guidance in selecting finishes that harmonize with your vision and lifestyle.
- Decide on Layout: Take the time to explore various layout options that best suit your needs, such as L-shaped, U-shaped, galley, or open-concept designs. Each layout has its unique advantages, and considering factors like traffic flow and usability can help you choose a design that maximizes both practicality and aesthetic appeal.
- Pick Materials & Finishes: Carefully selecting materials and finishes is crucial to creating a cohesive and inviting space. Consider elements such as cabinets, countertops, backsplashes, flooring, appliances, lighting, and fixtures. Each choice contributes to the overall look and functionality of your environment, so take the time to find the right combinations that reflect your personal style while also meeting durability and maintenance requirements.
- Obtain Permits: It’s essential to ensure that all construction work is compliant with local regulations, which is where your contractor comes into play. They will handle the management of all necessary permits, ensuring that every aspect of your project adheres to building codes. This not only helps avoid potential legal issues but also guarantees that your renovations are safe and up to standard.
Step 3: Demolition & Preparation
Declutter the Area: Begin by carefully removing all items from cabinets, countertops, and walls. This includes not only small items, like kitchen utensils and decorative pieces, but also larger appliances and furniture that may be in the way. By clearing out the entire area, you can create a clean slate for the renovation process and ensure that no items get damaged during the demolition phase.
Shut Off Utilities: Prior to commencing any demolition work, it is crucial to ensure that all utilities are safely turned off. Confirm that water, gas, and electricity are disconnected to prevent any accidents or hazards during the renovation. Taking this precaution will help maintain a safe working environment and protect both the workers and the home.
Demolition: Once the area is adequately prepared, proceed with the demolition phase by systematically dismantling old cabinetry, countertops, flooring, and, if necessary, walls. This process may involve using various tools and techniques to ensure the safe removal of these materials while minimizing damage to surrounding structures.
Examine & Fix: After the demolition is complete, take the time to thoroughly assess the space for any plumbing, electrical, or structural issues that may need attention. Addressing any problems now will be essential for ensuring a solid and safe foundation for the upcoming reconstruction. This step is critical, as it allows you to make necessary repairs that could impact the functionality and longevity of your renovation project.
Step 4: Structural Changes (If Needed)
Framing & Wall Modifications: When considering alterations to the layout of a space, it may be necessary to strategically add or remove walls to achieve the desired flow and functionality.
Window & Door Modifications: If you're thinking about repositioning or resizing existing openings, now is the ideal time to install new windows and doors to enhance both aesthetics and efficiency.
Step 5: Plumbing, Electrical & HVAC
- Plumbing Upgrade: This involves the careful relocation or installation of water lines for various essential appliances, including sinks, dishwashers, and refrigerators. Ensuring proper plumbing is vital for efficiency and convenience in your home's daily operations.
- Electrical Enhancements: In this category, we focus on establishing new outlets, installing stylish light fixtures, and upgrading wiring to accommodate modern appliances. These enhancements not only improve functionality but also contribute to the overall safety of your electrical system.
- HVAC Adjustments: If needed, we will make modifications to existing vents or install a new range hood to enhance ventilation throughout your living space. These adjustments are crucial for maintaining indoor air quality and ensuring your home remains comfortable regardless of external weather conditions.
Step 6: Drywall & Painting
- Install Drywall: Begin by encasing both the walls and ceilings with drywall, meticulously ensuring that all seams are seamlessly finished for a smooth and polished look. This will create a robust and clean surface that is essential for the next stages of the project.
- Prime & Paint: Before moving on to the installation of cabinetry, it's important to apply a coat of primer followed by a high-quality paint. This not only enhances the aesthetic appeal of the space but also helps create a protective barrier that will ensure the longevity of the surfaces.
Step 7: Flooring Installation
- Select and Install Flooring: To achieve a truly flawless finish in your space, it's essential to lay down your chosen flooring materials—be it hardwood, tile, vinyl, or laminate—before the installation of cabinets takes place. This strategic approach ensures that the flooring is perfectly aligned and that any potential imperfections are minimized, resulting in a polished and professional look for your overall design. Taking the time to properly install the flooring first can make a significant difference in the final outcome of your project.
Step 8: Cabinet & Countertop Installation
- Install Cabinets: Begin the installation process by focusing on the upper cabinets, ensuring they are securely mounted and level. After the upper cabinets are in place, proceed to install the base cabinets, taking care to align them properly with the upper units for a cohesive look.
- Template & Install Countertops: After the cabinets have been successfully installed, fabricators will come in to take precise measurements of the space. This step is crucial as it ensures that the countertops fit perfectly. They will then install the countertops made from materials such as granite, quartz, marble, or other options, creating a beautiful and functional surface for your kitchen or bathroom.
Step 9: Backsplash & Fixtures
- Install a Backsplash: Consider incorporating a variety of materials such as tile, stone, or glass to create a stunning backsplash that elevates the overall design of your space. This addition not only enhances the aesthetic appeal but also provides protection for your walls from splashes and stains.
- Add Plumbing Fixtures: Ensure that you connect sinks, faucets, and garbage disposals efficiently to maximize functionality and convenience in your kitchen or bathroom. Attention to detail in the installation process will not only guarantee proper operation but also contribute to the overall harmony of your design scheme.
Step 10: Appliance & Lighting Installation
- Install Appliances: Begin by carefully positioning and hooking up essential kitchen appliances, including the refrigerator, oven, dishwasher, and microwave. Ensure that each appliance is connected properly to the necessary water, gas, or electrical supplies for optimal performance and safety.
- Lighting Fixtures: Enhance the ambiance of your kitchen by incorporating a variety of lighting options. This includes installing under-cabinet lighting to illuminate workspaces, adding stylish pendant lights for a touch of elegance, and using recessed lights to provide general illumination throughout the room, creating a warm and inviting atmosphere for cooking and entertaining.
Step 11: Final Touches & Cleanup
- Hardware Installation: Begin by securely affixing the knobs, handles, and pulls to all cabinets and drawers, ensuring that each piece is properly aligned and functions smoothly. This step is crucial for both the aesthetics and the usability of the furniture.
- Final Inspections: After the installation process is complete, conduct thorough final inspections to verify that every component operates correctly and meets the expected standards of quality. This includes checking that all mechanisms open and close seamlessly without any issues.
- Deep Cleaning: After the installation and inspections are finished, carry out a comprehensive deep cleaning to eliminate any dust, debris, and construction waste that may have accumulated during the project. This ensures that the space is spotless and ready for immediate use.
Step 12: Walkthrough & Enjoy
- Final Walkthrough: Take the time to collaborate closely with your contractor during the final walkthrough to thoroughly review every aspect of the project. Make sure to express any concerns or questions you may have, allowing for adjustments if necessary, and ensure that the work meets your expectations and standards. This step is crucial to guarantee your satisfaction with the completed project. Once everything is in order and to your liking, take a moment to relish your stunning new kitchen!
- Enjoy the beauty and functionality of your newly designed space as you envision all the wonderful moments to come.
Frequently Asked Questions
How long does a kitchen remodel take?
The timeline for a kitchen remodel depends on the scope of the project. A basic update (new countertops, cabinets, and flooring) typically takes 3-6 weeks, while a full kitchen renovation (including layout changes, plumbing, and electrical work) can take 6-12 weeks. At J.J. Remodeling, we provide a detailed timeline upfront and work efficiently to complete your project on time and within budget.
How much does a kitchen remodel cost?
Kitchen remodeling costs vary based on size, materials, and customizations. On average:
Minor kitchen updates: $10,000 – $25,000
Mid-range remodels: $25,000 – $50,000
High-end renovations: $50,000+
However with J.J. Remodeling we offer fair pricing and transparent estimates to help you get the best value for your budget. Our team will work with you to choose materials and designs that align with your vision and price range.
Do I need permits for my kitchen remodel?
In many cases, yes. If your remodel involves structural changes, electrical work, or plumbing updates, permits are required by local building codes in Ogden, UT. Don’t worry—J.J. Remodeling handles all necessary permits and inspections to ensure your project meets safety standards and city regulations.
Testimonials
"
"We recently had our kitchen remodeled by J.J. Remodeling, and we couldn’t be happier with the results! From the very first consultation, they were professional, attentive, and truly listened to our vision. They helped us choose the perfect layout, cabinets, countertops, and finishes that completely transformed our outdated kitchen into a stunning, modern space."
Callie S.
"
"The entire team was punctual, respectful, and detail-oriented, ensuring that every element was installed flawlessly. They kept us updated throughout the process, completed the project on time, and stayed within our budget. Now, our kitchen is not only beautiful but also highly functional—we love cooking and entertaining in it!"
Sarah B.
"
"If you’re looking for a reliable, skilled, and customer-focused remodeling company in Ogden, Utah, we highly recommend J.J. Remodeling. Thank you for making our dream kitchen a reality!"
James S.
🛠️J.J. Remodeling Ogden, UT
📍
Location:
175 25th St, Ogden, UT 84401
📞
Phone:
385-545-4328
📧
Email:
maddiemaddox128@gmail.com
🌐
Website:
ogdenremodeling.com
New Paragraph
We will get back to you as soon as possible.
Please try again later.
Proudly Powered by Carpe DM Products
