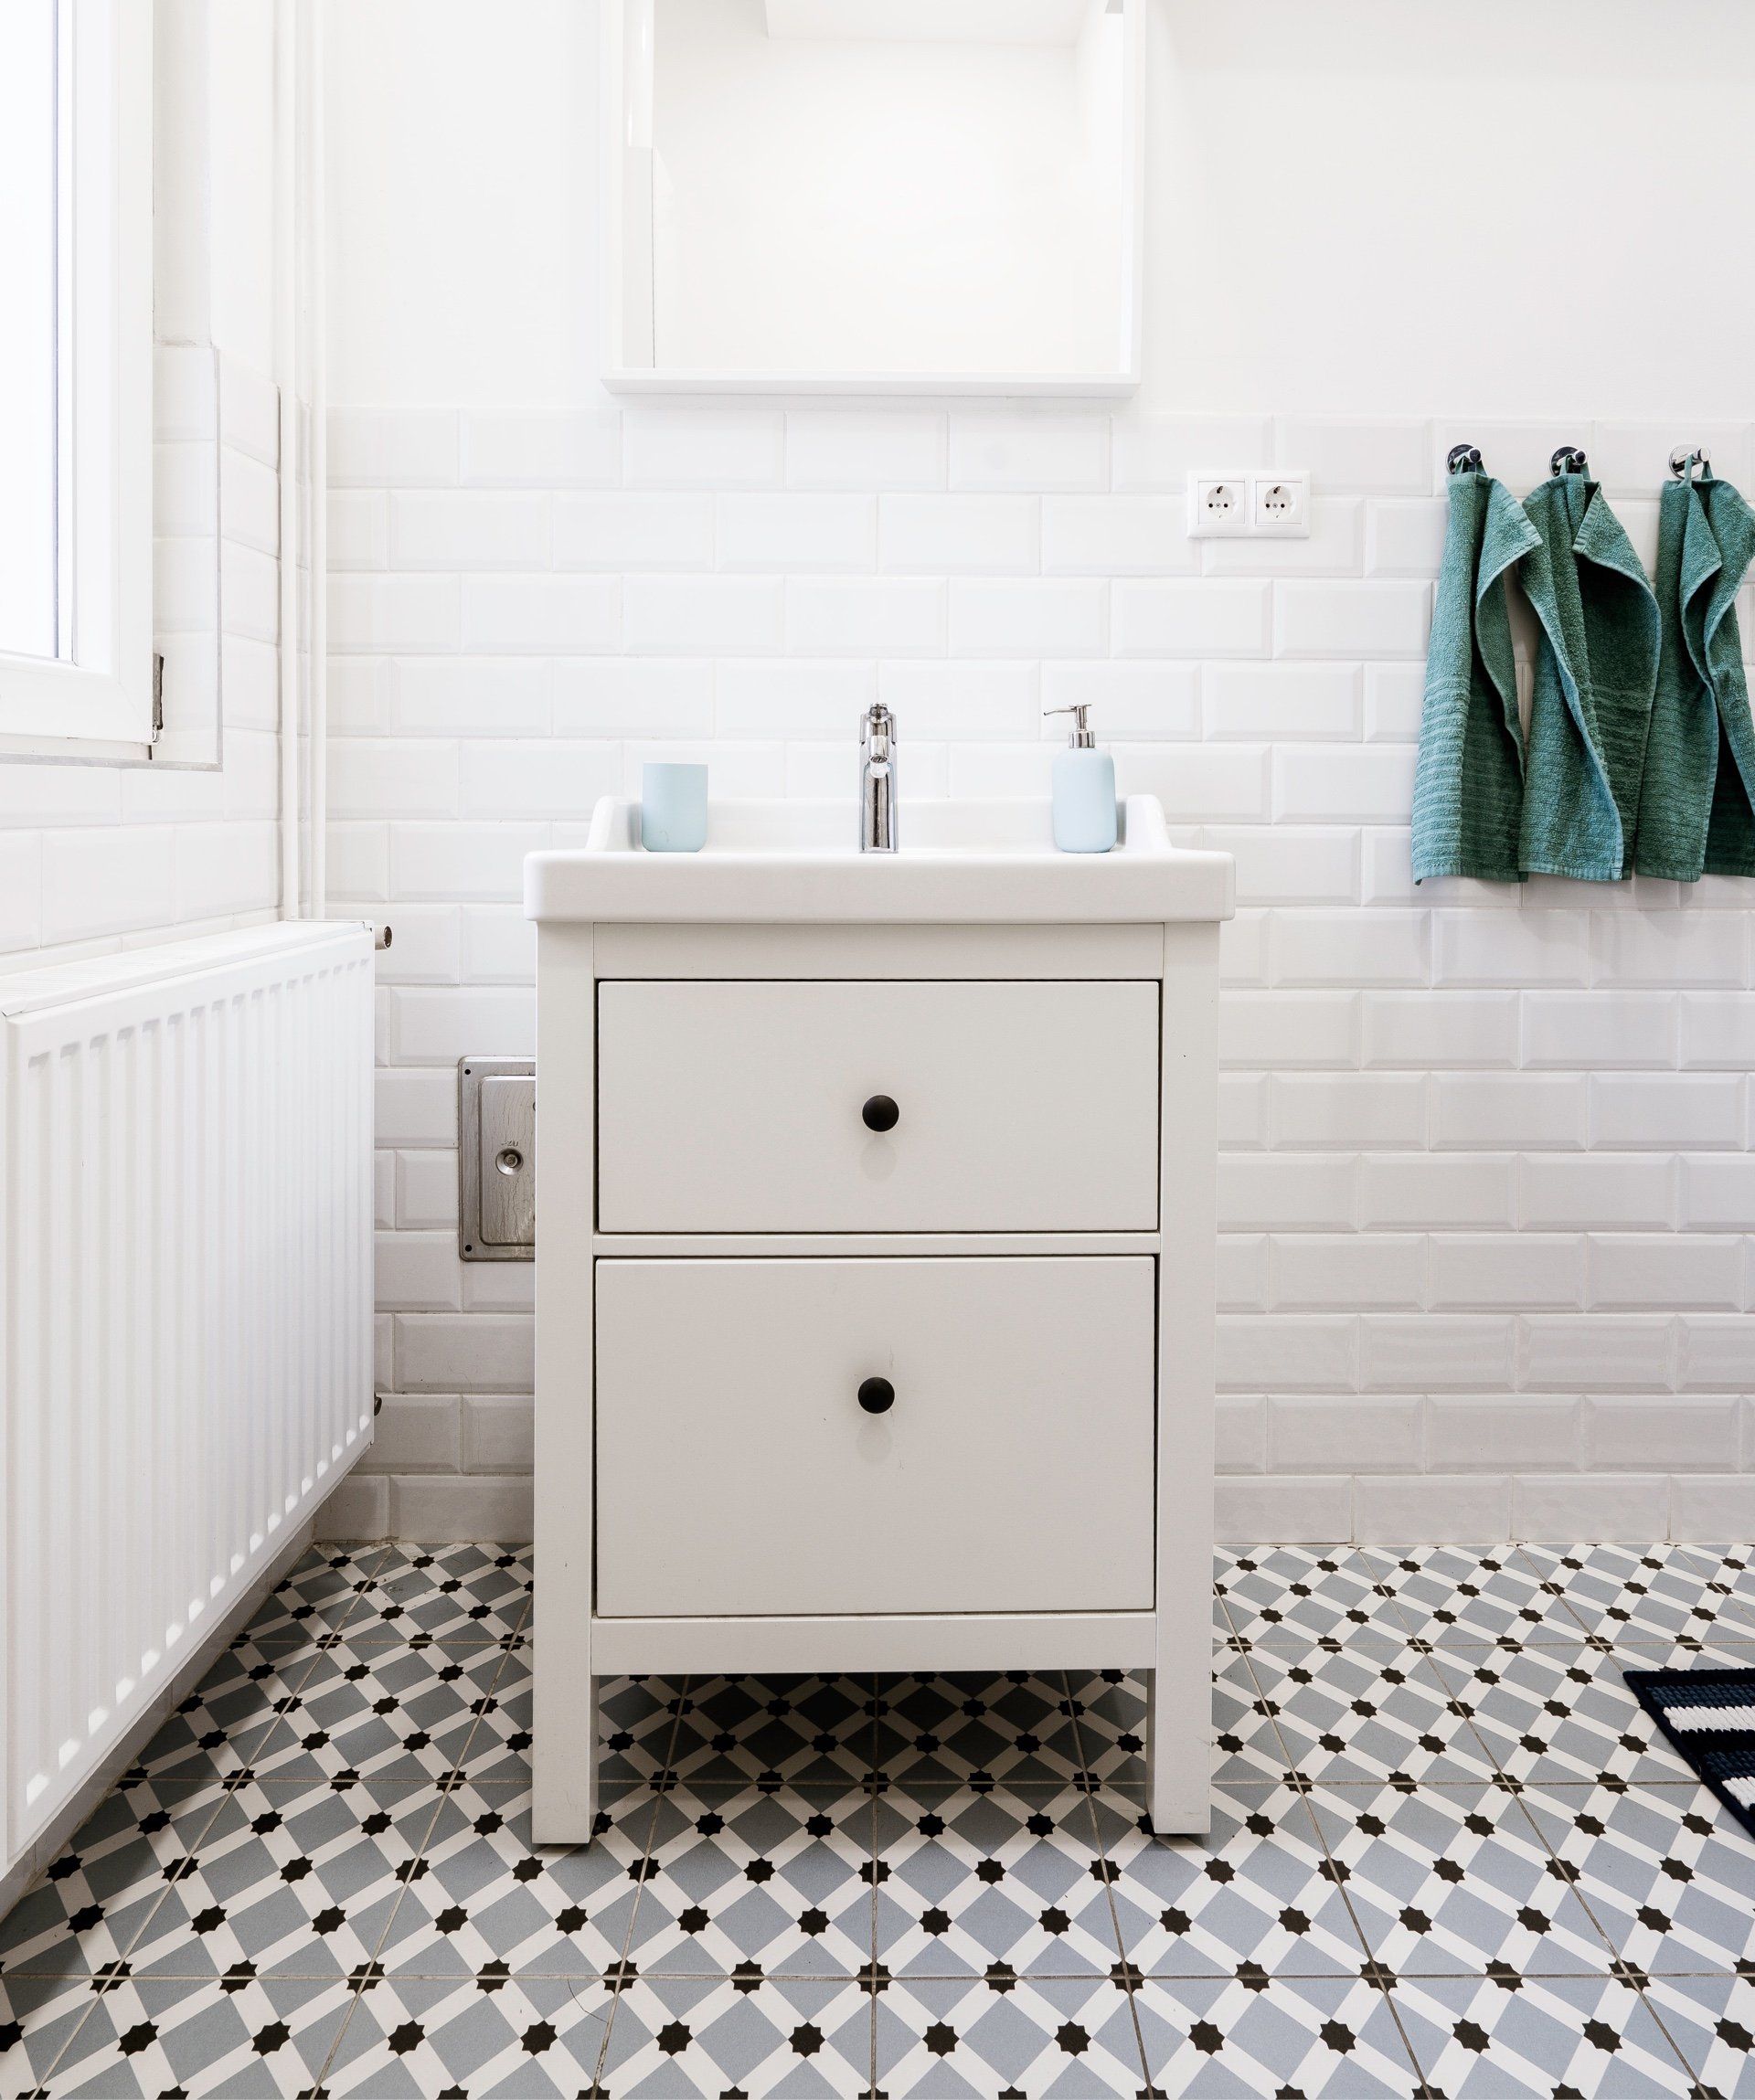
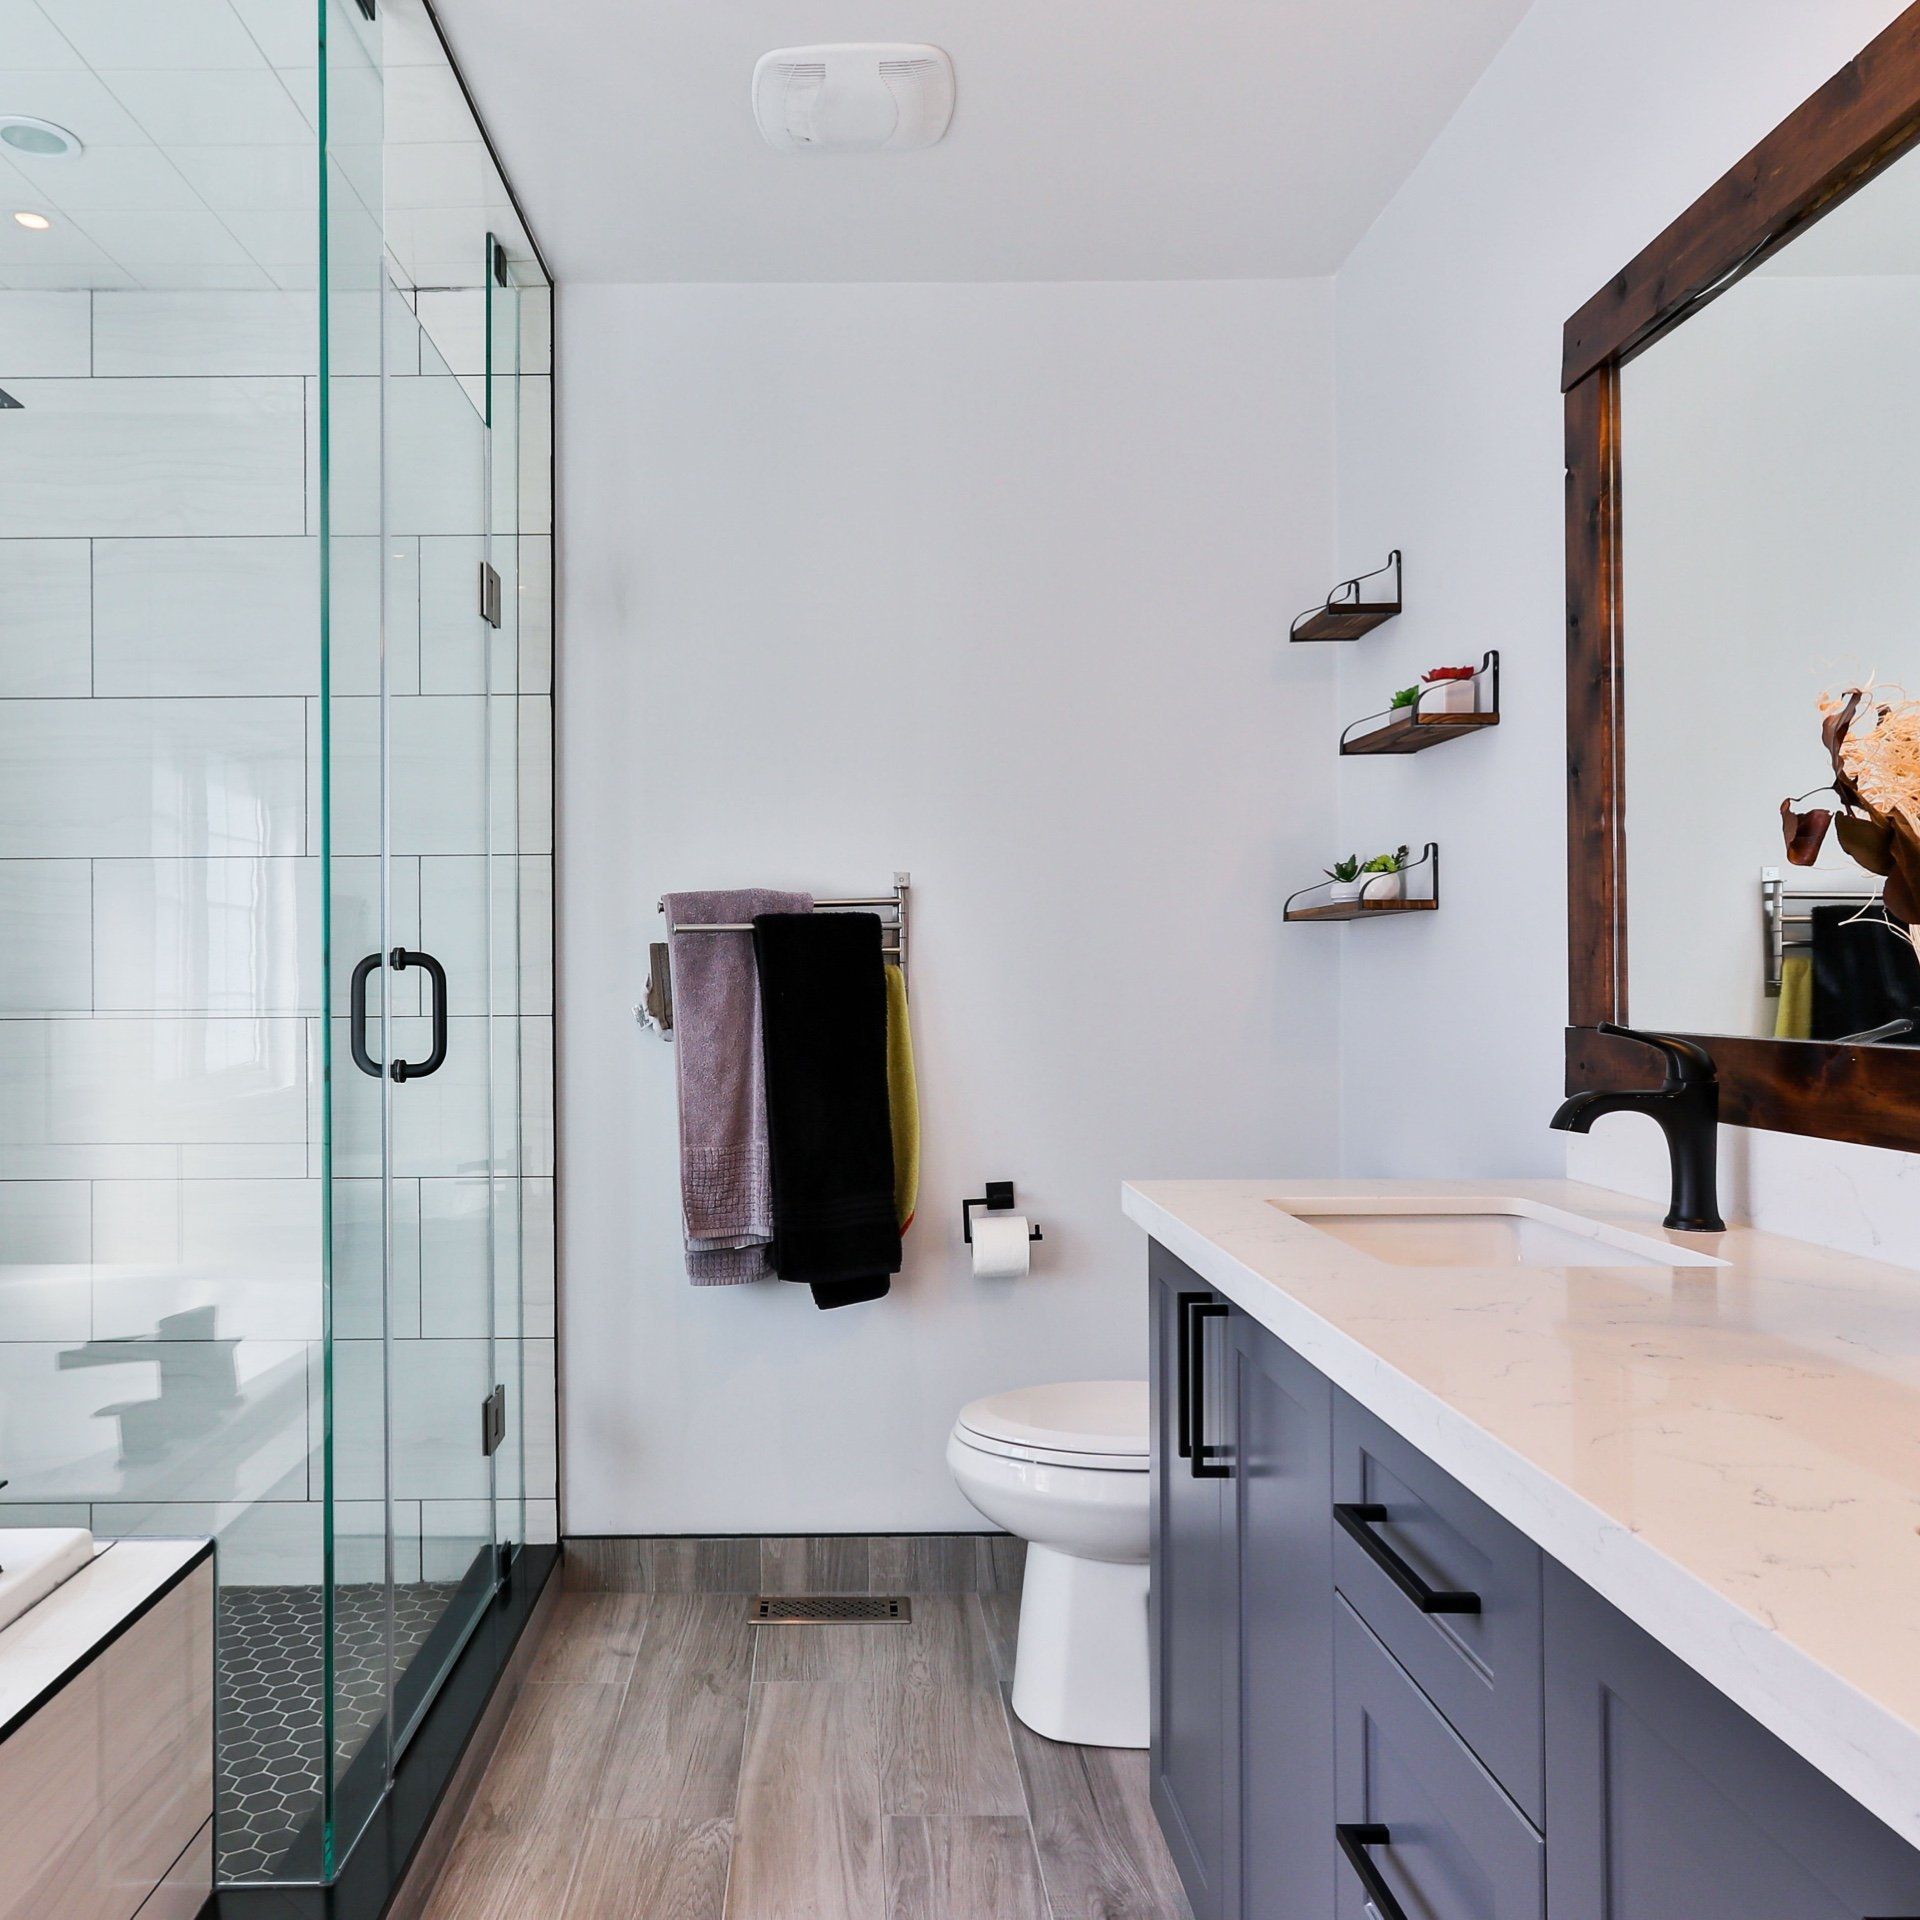
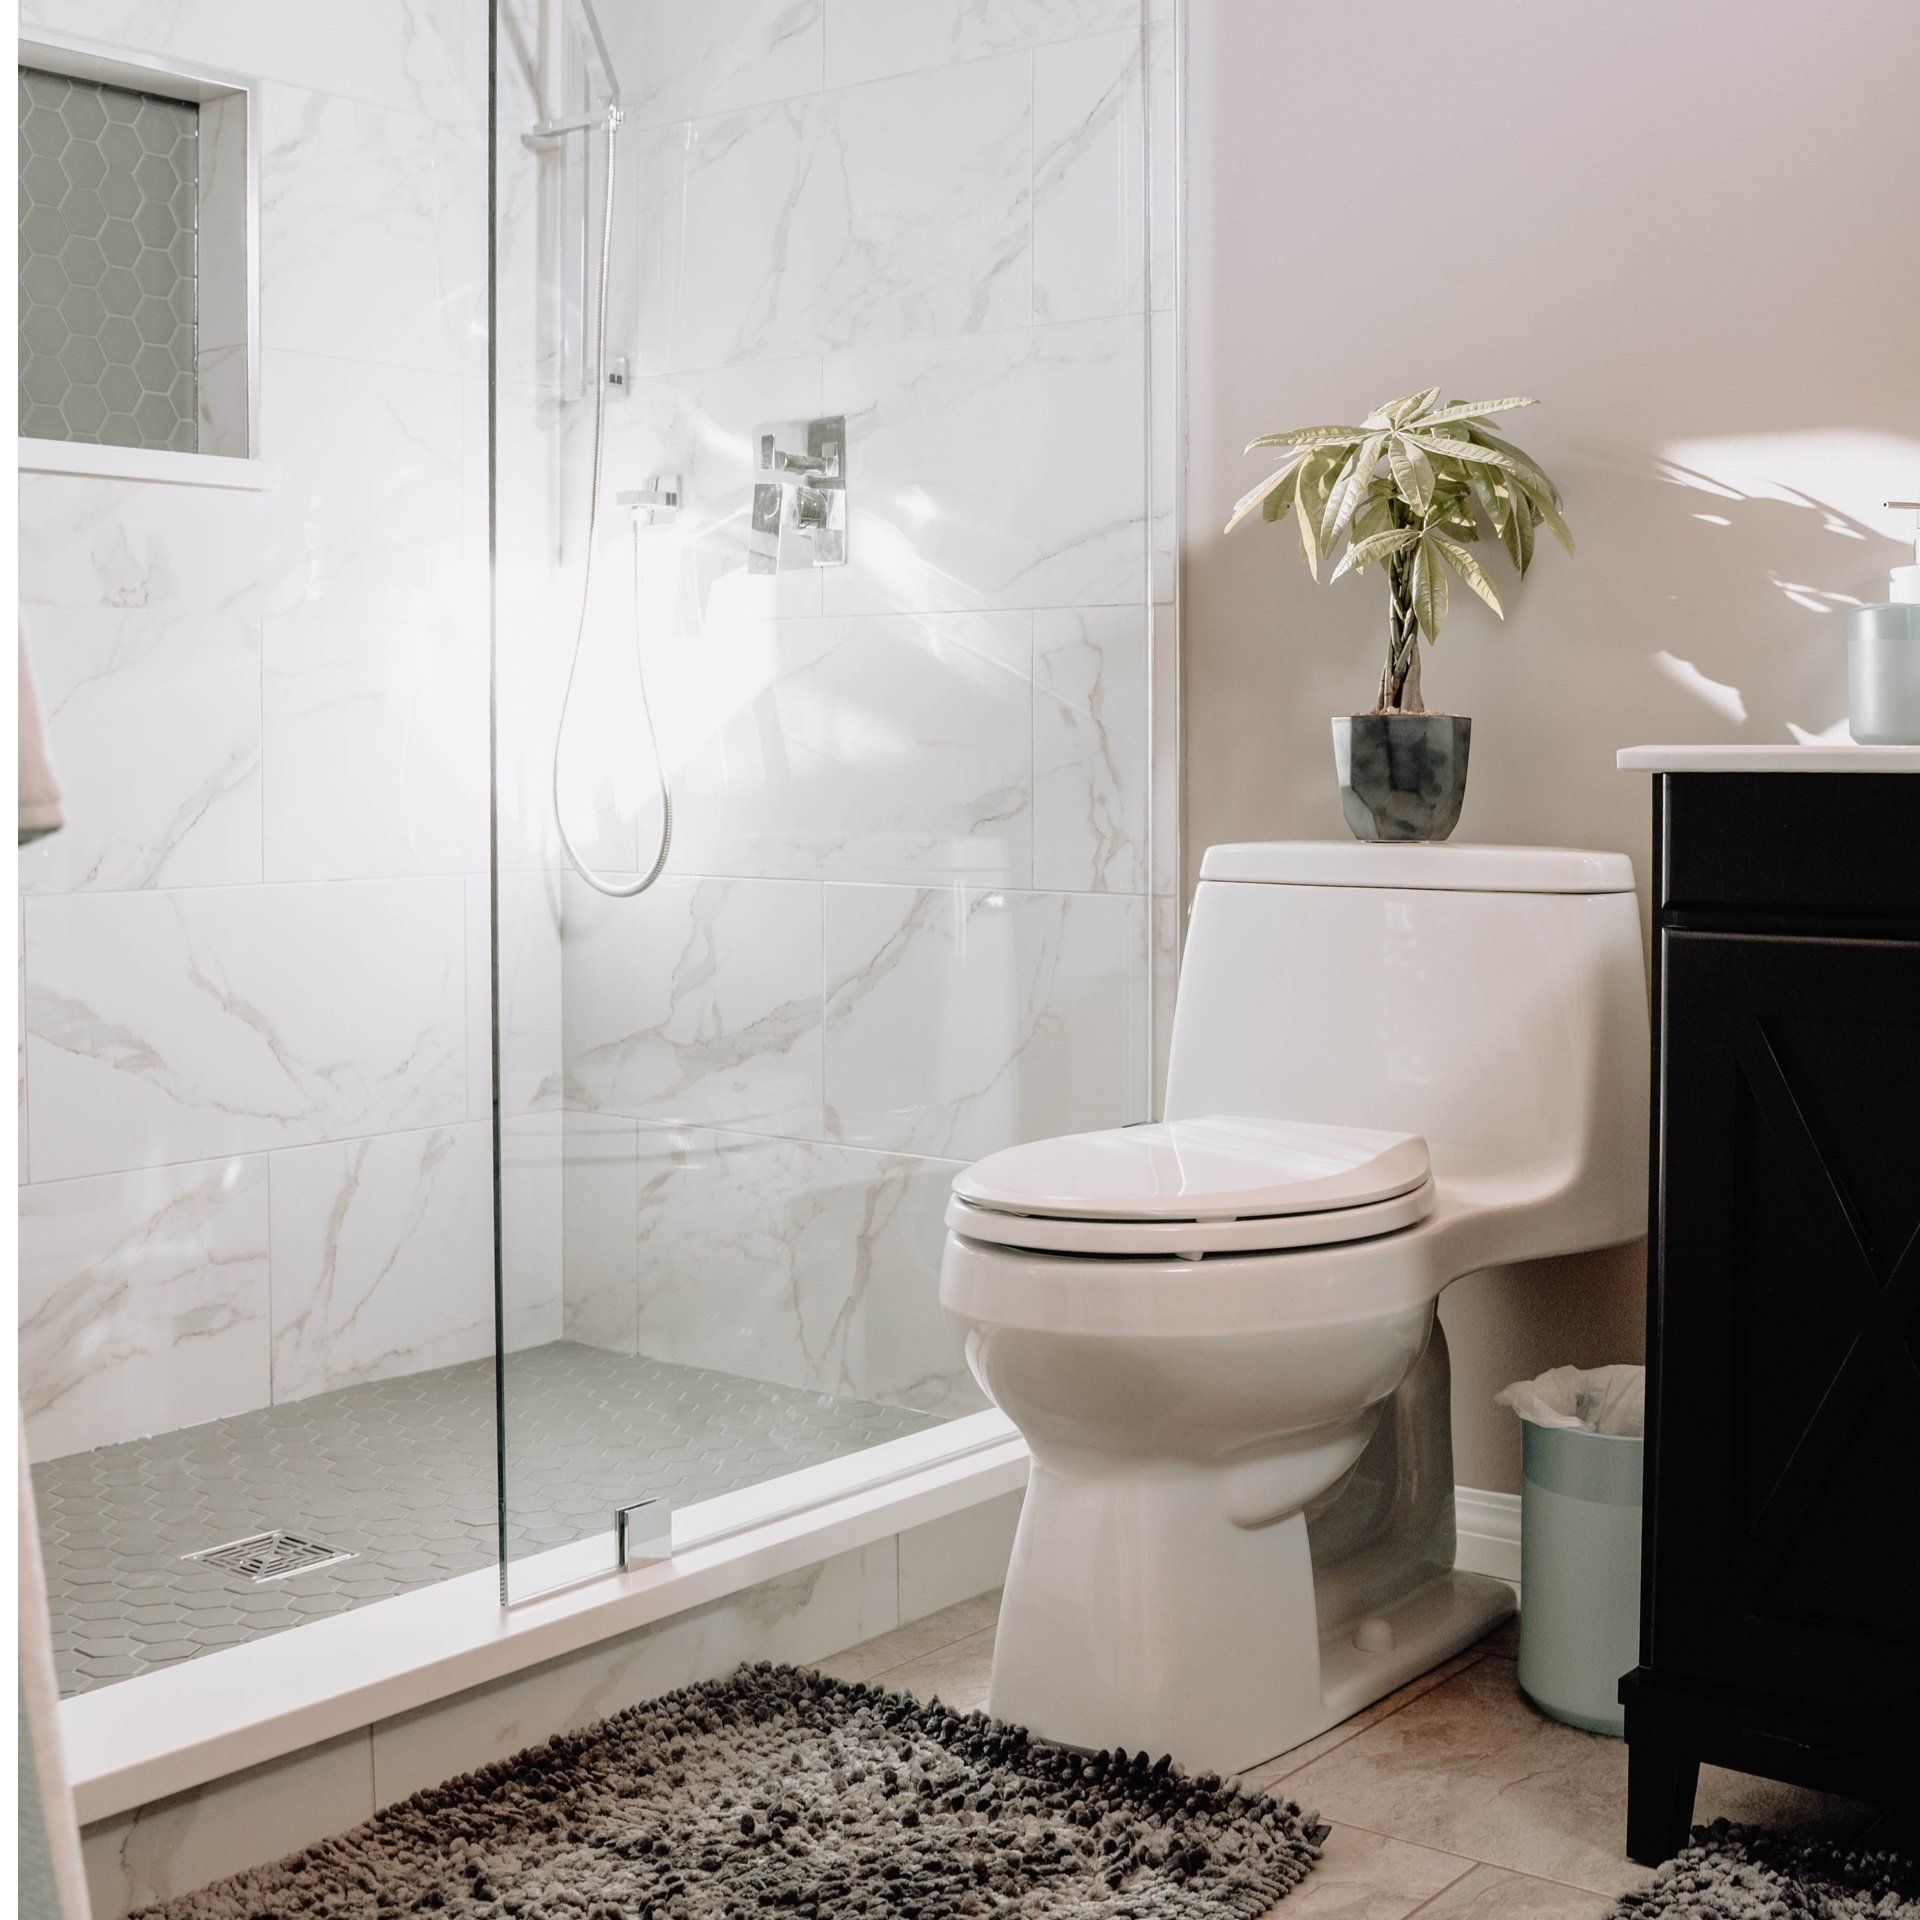
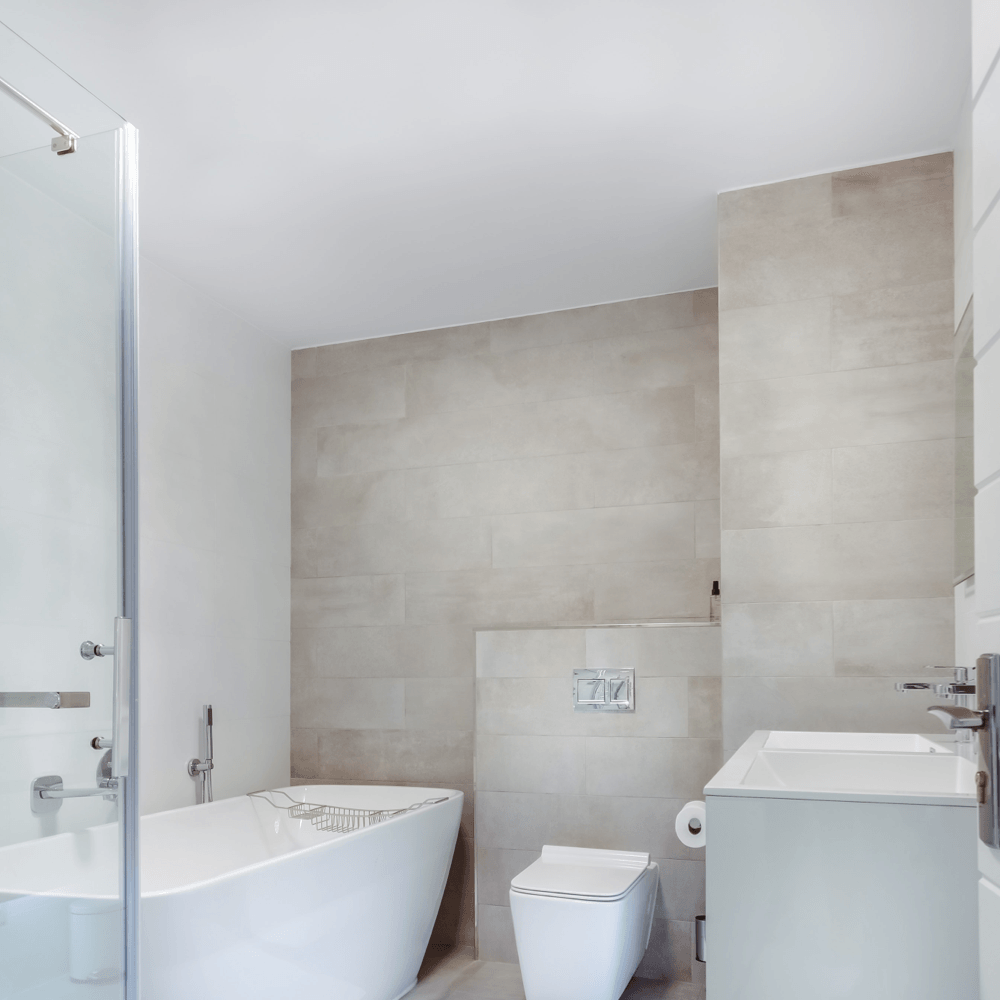
Expert Bathroom Renovation in Ogden, Utah
At J.J. Remodeling, we specialize in custom home bathroom renovations that not only enhance the aesthetic appeal but also significantly improve the functionality of your space. With over 20 years of hands-on experience in the industry, our family-owned business prides itself on delivering high-quality craftsmanship and personalized designs meticulously tailored to meet your specific needs and preferences. Whether you’re looking to upgrade a small guest bathroom or aspire to create a luxurious spa-like master bath, our skilled team has the expertise and vision to bring your ideas to life in a way that exceeds your expectations.
We recognize that remodeling can be overwhelming, which is why our dedicated team ensures a smooth and stress-free remodeling process from the initial design consultation all the way through to the final installation phase. Our focus areas include:
✅ Custom Tile Work – Crafting elegant backsplashes, stunning flooring, and breathtaking shower surrounds
✅ Modern Vanities & Storage – Maximizing your available space with stylish and functional storage solutions
✅ Luxury Showers & Bathtubs – Designing exquisite walk-in showers, indulgent soaking tubs, and more
✅ Energy-Efficient Fixtures – Incorporating water-saving toilets, LED lighting, and eco-friendly options to promote sustainability.
As a trusted local home remodeling contractor in Ogden, UT, we are committed to prioritizing fair pricing, maintaining clear communication throughout the project, and ensuring timely completion of every job. Whether your dream bathroom design is modern, rustic, or classic, we guarantee the use of top-quality materials along with expert installation to provide lasting beauty and value for years to come.
📞 Don’t wait any longer! Get a Free Quote Today! Transform your bathroom into a stunning sanctuary with J.J. Remodeling. Call us now or fill out our online form for a consultation, and let’s make your vision a reality!
Step 1: Planning & Design
- Establish a Budget: Start by assessing how much you're realistically prepared to invest in your bathroom renovation project. This should involve a comprehensive evaluation of costs, including materials, labor, and any potential unforeseen expenses that may arise during the process. Having a clear financial picture will help you avoid surprises down the line and ensure that your renovation stays on track financially.
- Clarify Your Objectives: Before moving forward, it’s essential to determine your specific goals for the renovation. Are you aiming for a complete remodel that transforms the entire space, a partial upgrade that enhances some elements while retaining others, or are you simply looking for cosmetic enhancements that refresh the look without extensive changes? Clear objectives will guide your decisions throughout the project.
- Measure Your Area: It’s crucial to take precise measurements of your bathroom area to understand the available space better. Ensure you note the locations of plumbing and electrical systems, as these factors will significantly influence your design and material choices. Accurate measurements will help you envision your new layout and avoid any miscalculations that could lead to costly adjustments later.
- Choose a Layout: Consider whether you want to retain the existing layout of your bathroom or if you’re interested in reconfiguring the space for improved functionality. Think about how the current layout meets your needs and whether a new arrangement could enhance accessibility, storage, or overall aesthetics. A thoughtful layout can make a significant difference in how you experience the space.
- Select Materials and Finishes: Selecting the right materials and finishes is a vital part of the renovation process. Take your time to choose tiles, vanities, countertops, fixtures, lighting, and color palettes that reflect your style and complement the overall vision for your bathroom. Consider durability and maintenance as well, as these factors will impact the longevity and functionality of your choices.
- Obtain Permits (If Necessary): Remember that certain renovations may necessitate obtaining building permits, especially for significant changes involving plumbing or electrical work. It’s crucial to check local regulations and secure any required permits before commencing work, as failing to do so can result in fines or complications during the renovation process. Being compliant with local building codes ensures your project runs smoothly and safely.
Step 2: Demolition & Removal
- Turn Off Utilities: Before you begin any renovation work, it’s crucial to shut off the water and electricity in your home. This step is essential to avoid potential accidents and ensure your safety throughout the project.
- Remove Old Fixtures: Carefully take out existing fixtures such as sinks, toilets, bathtubs, showers, and cabinets. This may involve unscrewing bolts and disconnecting plumbing, so be prepared with the right tools and follow safety precautions to avoid any damage or injury during the removal process.
- Tear Out Flooring & Walls (If Necessary): If your renovation plans include structural changes, be ready to remove outdated tiles or drywall. This task may require additional equipment to ensure that the removal is efficient and does not compromise the integrity of the surrounding structure.
- Dispose of Debris Properly: Once you've completed your demolition work, it’s important to dispose of the debris responsibly. Consider using a dumpster rental or a haul-away service to ensure that all waste is removed safely and in compliance with local regulations, keeping your workspace clean and organized.
Step 3: Plumbing & Electrical Work
- Reposition Pipes & Drains (If Needed): As you embark on your renovation journey, it's essential to carefully assess and adjust the plumbing to accommodate any new fixture placements. This may involve relocating pipes and drains to ensure a seamless and functional layout.
- Upgrade Electrical Wiring: In addition to plumbing adjustments, you'll want to focus on enhancing the electrical system within your space. Installing new outlets, lighting fixtures, and switches not only boosts convenience but also ensures compliance with updated safety codes, providing peace of mind for years to come.
- Check Ventilation: Finally, it's crucial to prioritize proper airflow throughout the area. Installing an efficient exhaust fan will help maintain optimal ventilation, effectively preventing moisture buildup and promoting a healthy living environment, especially in areas prone to humidity.
Step 4: Structural & Drywall Work
- Reframe Walls (If Required): Assess the current layout and determine if any walls need to be added or removed to enhance the functionality and flow of the space. This adjustment can greatly improve the overall layout and aesthetics of the area.
- Install Cement Backer Board: Ensure durability by using moisture-resistant drywall behind showers and tubs. This crucial step helps protect your walls from water damage and mold, providing a solid foundation for tiles and other finishes.
- Apply Drywall & Mud: After framing, proceed to finish the walls and ceilings with drywall. Once installed, apply mud to the seams, allowing for a seamless appearance. Finally, sand the surface smooth, creating an ideal canvas for painting and achieving a polished look in your space.
Step 5: Flooring Installation
- Choose the Right Material: It’s essential to select the most suitable flooring material for your project. Waterproof options such as high-quality porcelain tiles, luxurious vinyl planks, or durable stone are excellent choices that not only enhance the appearance of your space but also offer long-lasting protection against moisture.
- Lay Down Underlayment: This crucial step involves installing an underlayment that provides a smooth and level surface for your flooring. Additionally, it acts as a moisture barrier, helping to protect your flooring investment from potential water damage and ensuring a stable foundation for years to come.
- Install Flooring: Once the underlayment is in place, it’s time to carefully arrange your chosen tiles, planks, or other flooring materials. Take your time to ensure everything is aligned correctly, and don’t forget to seal the edges properly to provide a finished look while enhancing durability and moisture resistance.
Step 6: Painting & Wall Treatments
- Apply Primer & Paint: Begin by applying a layer of mold-resistant primer to ensure a strong foundation before painting. Once the primer has dried, use high-quality bathroom paint designed to withstand humidity and prevent mold growth for a durable finish that will last.
- Add Tile or Wall Panels: Consider enhancing your bathroom's design by installing beautiful tile or wall panels. You can create an attractive backsplash, design striking accent walls, or opt for full tile coverage around showers and tubs. This not only improves the aesthetic appeal of your space but also adds an extra layer of protection against moisture.
Step 7: Install Fixtures & Features
- Put in the Vanity & Sink: Begin by securely fastening the vanity to the wall, ensuring it is level and well-supported. Next, carefully connect all plumbing components, making certain that everything is aligned properly, and then proceed to install the countertop, making sure it fits snugly and complements the overall design.
- Mount Toilet & Bathtub/Shower: Once the plumbing is secure, carefully reconnect the water lines to the toilet and bathtub or shower. After everything is in place, don’t forget to thoroughly test for leaks, ensuring that all connections are tight and functioning as intended.
- Attach Mirrors, Cabinets, & Shelving: Proceed to enhance both storage and aesthetics by attaching mirrors and cabinets at suitable heights. Additionally, install shelves to maximize space, providing practical organization while also adding a stylish touch to the bathroom decor.
- Install Lighting Fixtures: Finally, focus on illumination by placing various lighting fixtures such as vanity lights, ceiling lights, or modern LED accents. This will not only enhance visibility in the space but also create a warm and inviting atmosphere.
Step 8: Final Touches & Cleanup
- Seal Grout & Caulk Gaps: Take proactive steps to prevent water damage by properly sealing all grout and caulk gaps throughout the area. This simple yet effective measure helps maintain the integrity of your space and avoids potential issues down the line.
- Deep Clean the Space: After completing construction or renovation, it's essential to thoroughly deep clean the entire area. Make sure to remove any dust, dirt, and construction debris to create a fresh and welcoming environment that’s ready for use.
- Inspect & Test Everything: Conduct a comprehensive inspection and testing of all systems within the space, including plumbing, electrical, and ventilation. Ensuring everything is functioning correctly not only guarantees safety but also enhances the overall comfort and efficiency of your environment.
- Decorate & Accessorize: Once the essentials are taken care of, it’s time to personalize your space. Add decorative elements such as towels, plush rugs, vibrant plants, or captivating artwork to create a warm and inviting atmosphere that reflects your style and complements the overall design.
Frequently Asked Questions
How long does a bathroom remodel typically take?
The timeline for a bathroom remodel depends on the scope of the project. A small, cosmetic update may take 1-2 weeks, while a full renovation with structural changes or plumbing/electrical work can take 3-6 weeks. We provide a detailed timeline and keep you updated on progress throughout the project to ensure timely completion.
How much does a bathroom remodel cost?
The cost of a bathroom remodel varies depending on the size of the space, materials, and the complexity of the work. On average, homeowners can expect to spend anywhere from $5,000 to $15,000 for a full remodel. At J.J. Remodeling, we offer fair pricing and provide detailed estimates so you know exactly what to expect before the project begins.
Will I need to obtain a permit for my bathroom remodel?
In many cases, yes, especially if you’re making structural changes, relocating plumbing or electrical components, or altering the layout. Local building codes and permit requirements vary, and our team will guide you through this process to ensure all necessary permits are obtained before work begins.
Testimonials
"
"I recently hired J.J. Remodeling for a complete bathroom remodel, and I couldn't be happier with the results! From start to finish, their team was professional, efficient, and highly skilled. They took the time to listen to my ideas, offered excellent suggestions, and created a beautiful, functional space that exceeded my expectations."
Mike H.
"
"The entire process was smooth, and I was impressed by how they kept me informed every step of the way. The team showed up on time, worked diligently, and respected my home, cleaning up at the end of each day. The quality of craftsmanship is top-notch, from the tile work to the plumbing and fixtures."
Serena B.
"
"I highly recommend J.J. Remodeling to anyone looking to remodel their bathroom. Their professionalism, expertise, and commitment to customer satisfaction make them the best in Ogden. Thank you, J.J. Remodeling, for transforming my bathroom into a dream space!"
Taylor L.
🛠️J.J. Remodeling Ogden, UT
📍
Location:
175 25th St, Ogden, UT 84401
📞
Phone:
385-545-4328
📧
Email:
maddiemaddox128@gmail.com
🌐
Website:
ogdenremodeling.com
New Paragraph
We will get back to you as soon as possible.
Please try again later.
Proudly Powered by Carpe DM Products


